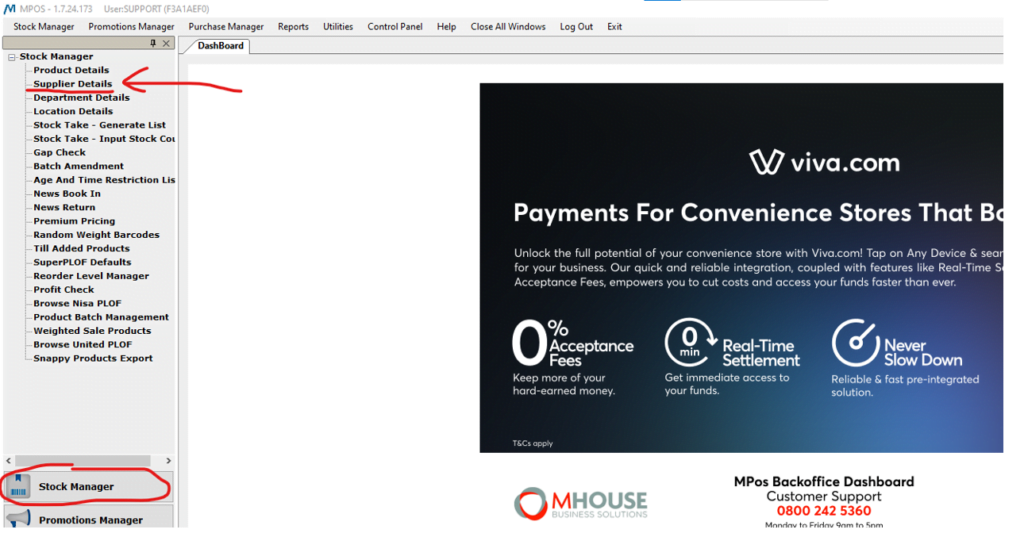
From the MPOS dashboard, select the stock manager category from the toolbar at the top or the button in bottom left-hand corner, from there select the Supplier details section of the stock manager tools
Once on the supplier details page, you will be greeted by several empty fields like below
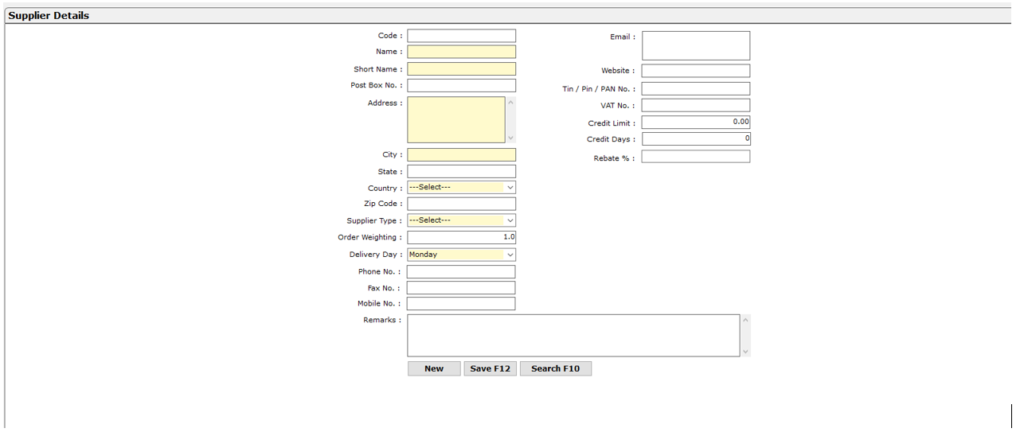
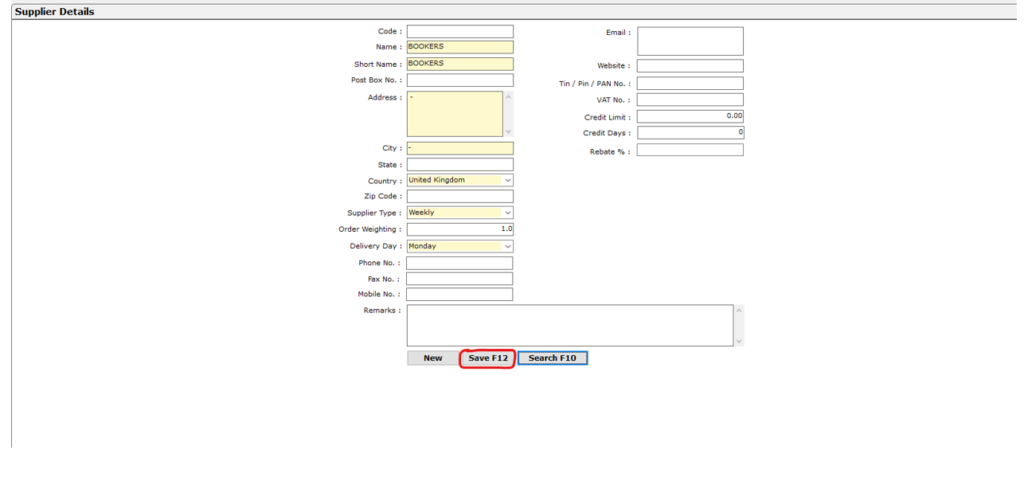
The yellow highlighted fields are required to have some information placed inside in order to be saved, these fields include;
Name and short name: this is the name of the supplier that will appear on reports and on the till
Address and city: Typically used for more local suppliers, it is fine to leave these fields with a single character in them like a dash
Country: From here you can select the country your supplier is based in
Supplier type: this field has two options, the first is “Daily” which will add the supplier to the list of suppliers that appear in the payouts list on the till and the second is “Weekly” for your larger suppliers that you would order online, typically reserved for cash and carries
Delivery day: this field is mostly for self management
Once each of these fields has been filled out, aswell as any of the additional fields of your choosing, you may save the supplier onto the system by pressing the F12 key on your keyboard or by clicking on the save button at the bottom of the menu